This is usually removed by mistake during a software upgrade and can be easily turned back on by two methods
From the hidden service menu
- Press and hold the [SETUP] and [CAR] buttons simultaneously for about four seconds
- Scroll down to “DIAG SETTINGS” and press enter (by pushing the main round button)
- Scroll down to “Car Menus Maske” and press enter
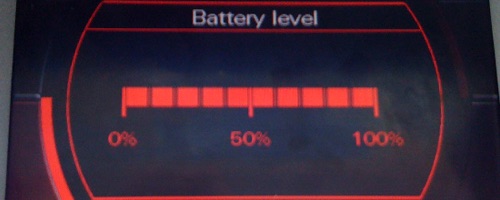
- Scroll down to “Battery level” and check this box by pushing the main rotary push button
- Scroll to the bottom and select “Accept changes”
- Press the [RETURN] button until you come out of the service menu
- Close & reboot MMI by pressing “Tel” + “MMI Control Knob” + “Upper Right Selection Button” (all together)
From VCDS/Vag Com
- Connect your VCDS cable to your car and to your laptop. Open up VCDS software
- Under the “Select Control Module” click the “Select” button. A new window should pop up.
- Click on the “Electronics 1” tab.
- Click on “07-Control Head”. A new window should pop up.
- Under “Advanced Functions” on the right-hand side, click on “Adaptation – 10”. A new window should pop up.
- In the “Channel ” box enter “02” (without quotes).
- Click “Read”. Take note of the current value.
- In the “New value” box type in sum of the current value + 32 (without quotes). E.g. if your current value is “10”, enter “42”
- Click “Test”
- Click “Save”. The MMI system should now reboot. We can now close down VCDS, so…
- Click “Done, Go Back” in the “Adaptation” window.
- Click “Close Controller – Go Back – 06” in the “Open Controller” window.
- Click “Go Back” in the “Select Control Module” window.
- Click “Exit”. Now you can unplug your VCDS cable
Reboot MMI by pressing “Tel” + “MMI Control Knob” + “Upper Right Selection Button” (all together)